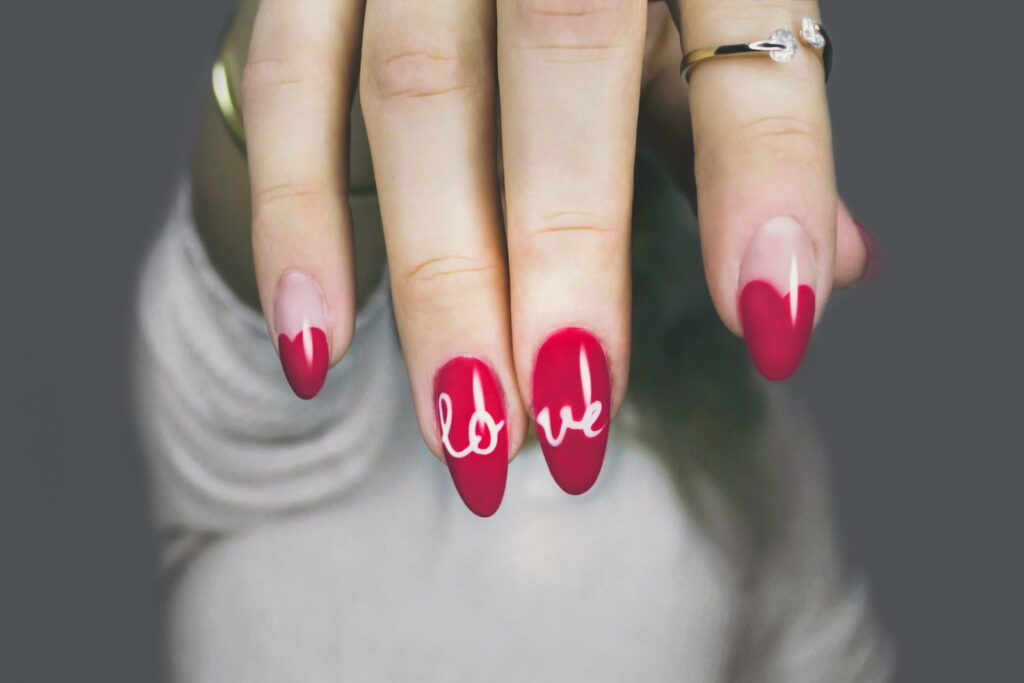
Want to free yourself from long and cumbersome acrylic nails? Look no further! In this guide, we’ll show you how to easily shorten your acrylic nails, giving you the freedom to move and use your hands without any restrictions.
With just a few simple steps and some basic tools, you’ll be able to achieve the perfect length and maintain your acrylic nails effortlessly.
Get ready to embrace comfort and flexibility with shorter, more manageable nails!
Key Takeaways
- Trim nails to desired length with a nail clipper
- File nails in one direction to shape them
- Use a buffer or fine-grit file to smooth rough edges
- Apply cuticle oil to moisturize and nourish the nails
Tools and Materials Needed
To start, make sure you have a good quality nail clipper or nail scissors. These will be essential in trimming your nails to the desired length. Additionally, you’ll want to have a nail file or buffer on hand. This will allow you to shape and smooth the edges of your nails after cutting them.
In addition to the cutting and shaping tools, you’ll also need a nail brush to clean your nails before and after the process. This will ensure that your nails are free from any dirt or debris. It’s important to have a clean working surface, so make sure to lay down a towel or mat to catch any nail clippings or dust.
Lastly, you’ll want to have a nail polish remover and cotton pads. This will be necessary if you have any polish or nail extensions that need to be removed before shortening your nails. Remember, it’s important to have all the necessary tools and materials to ensure a successful and smooth process.
Now that you have gathered all the tools and materials needed, you’re ready to move on to the next step in shortening your acrylic nails.

Preparing Your Nails
First, always regularly clean and moisturize your nails to keep them healthy and prevent breakage. This is an essential step in preparing your nails for acrylic nails.
Here are some tips to help you get started:
- Start by removing any old nail polish using a non-acetone nail polish remover. Acetone can be harsh and drying on the nails, so it’s best to avoid it.
- Next, trim your nails to your desired length using a nail clipper. Be careful not to cut them too short, as this can cause discomfort and even pain.
- After trimming, file your nails to shape them. Use a gentle file and work in one direction to avoid splitting or damaging the nails.
By following these steps, you’ll ensure that your natural nails are clean, moisturized, and well-prepared for the application of acrylic nails.
Trimming and Shaping Your Acrylic Nails
To achieve your desired nail shape, start by gently filing the edges of your acrylic nails. Using a nail file, hold it at a slight angle and move it in one direction. Avoid filing back and forth, as it can weaken the nails. Remember, you have the freedom to create any shape you desire – whether it’s square, round, or pointed. Take your time and be mindful of the length you want to achieve.
Once you’re satisfied with the length, it’s time to shape your nails. Again, you have the freedom to choose the shape that suits your style. Use a nail buffer or a file to shape the corners and smooth out any rough edges. If you want square nails, file the corners straight across. For round nails, gently file the corners in a circular motion. If you prefer pointed nails, file the edges to create a sharp point.
Remember, the key to shaping your acrylic nails is to take it slow and steady. You can always trim and shape more if needed, but once you’ve removed too much, it’s difficult to fix.
Enjoy the process and have fun experimenting with different shapes that make you feel confident and free.
Blending and Smoothing the Edges
To achieve a seamless finish, gently blend and smooth the edges of your acrylic nails using a buffer or a fine-grit file. This step is crucial for creating a natural and polished look. Here’s how you can achieve it:
- Start by using a buffer or a fine-grit file to gently smooth out any rough edges around the tips of your acrylic nails. Be careful not to file too aggressively, as this can weaken the nails.
- Next, use the buffer or file to blend the edges of the acrylic nails with your natural nail bed. This helps create a smooth transition and make the nails look more natural.
- Finally, use the buffer to lightly buff the surface of the nails, removing any imperfections and creating a smooth and glossy finish.
Finishing Touches and Nail Care Tips
Make sure to apply a generous amount of cuticle oil to your nails and massage it in to keep them healthy and moisturized. This step is essential for maintaining the overall health of your nails, especially after shortening your acrylic nails. Cuticle oil helps to nourish and hydrate the cuticles, preventing them from becoming dry and brittle.
After applying cuticle oil, it’s important to give your nails some extra care. Use a nail buffer or a soft nail file to gently smooth out any rough edges or ridges. This will give your nails a polished and finished look. Be careful not to file too aggressively, as this can weaken the nails.
To add a touch of glamour, you can apply a fresh coat of nail polish to your newly shortened acrylic nails. Choose a color that matches your style and personality. Whether you prefer bold and vibrant shades or subtle and understated tones, there’s a wide range of nail polish options available to suit your taste.
Lastly, remember to continue practicing good nail care habits. Trim your nails regularly to maintain their shape and prevent them from becoming too long. Avoid using your nails as tools, as this can cause them to break or chip. Keep your hands and nails clean by washing them regularly.
Maintaining Shortened Acrylic Nails
Keep up with regular nail maintenance to ensure the longevity of your shortened acrylic nails. Taking care of your nails not only helps them look their best but also prevents any potential damage.
Here are a few maintenance tips to keep your shortened acrylic nails in great shape:
- Moisturize: Apply a nourishing cuticle oil regularly to keep your nails and surrounding skin hydrated. This will prevent dryness and promote healthy nail growth.
- Protect: Wear gloves when doing household chores or any activities that may expose your nails to harsh chemicals or excessive moisture. This will help prevent the acrylic nails from lifting or becoming damaged.
- Avoid picking or biting: Resist the temptation to pick at or bite your nails. Doing so can cause the acrylic to chip or break, which may lead to further damage.
By following these simple maintenance tips, you can ensure that your shortened acrylic nails remain strong and beautiful.
Conclusion
In conclusion, by following these steps, you can easily shorten your acrylic nails.
Remember to use the necessary tools and materials, properly prepare your nails, trim and shape them to your desired length, blend and smooth the edges, and finish with nail care tips.
By maintaining your shortened acrylic nails, you can keep them looking fabulous and healthy for longer periods of time.
So go ahead and give it a try!