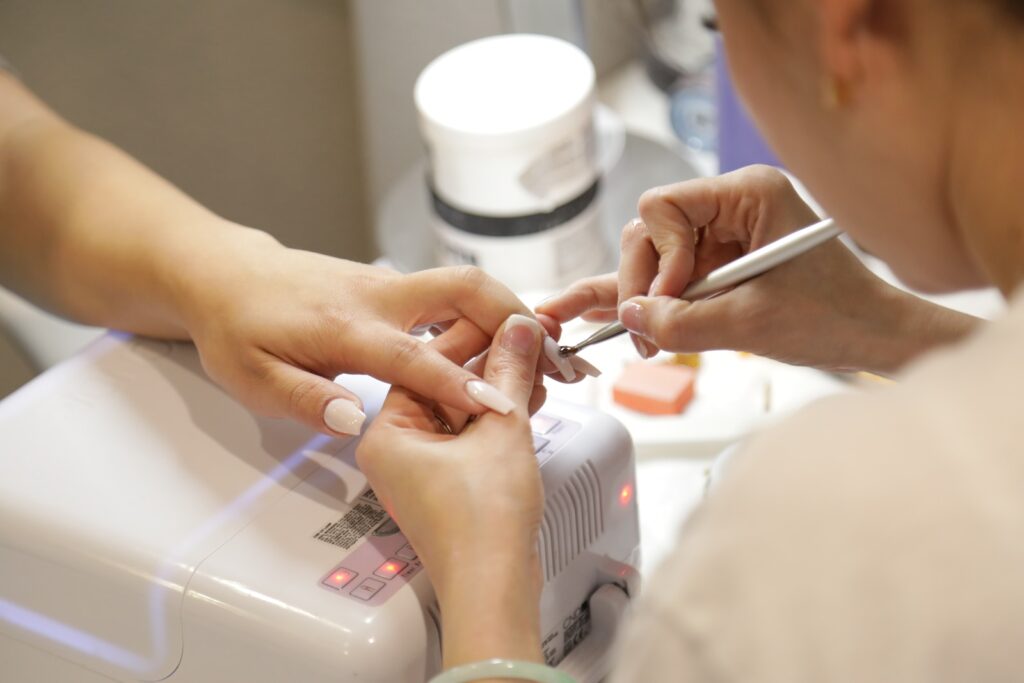
Nailboo is a revolutionary nail product that provides an easy and affordable way to apply beautiful nail art. It is perfect for both professional and amateur nail technicians. With Nailboo, you can create stunning nail art designs in minutes. If you’re looking for a fun and new way to dress up your nails, then Nailboo is the perfect choice for you. Here’s how to apply Nailboo.
Preparing your Nails
Before you start applying Nailboo, it’s important to prepare your nails. To begin, wash your hands with soap and water and dry them with a paper towel. Then, use a nail file to shape and buff your nails. This will help ensure that the Nailboo adheres properly. Once your nails are prepped, apply a base coat of nail polish and let it dry completely before moving on to the next step.
Applying the Nailboo

Choose your Design
The first step to applying Nailboo is to choose the design you want to use. Nailboo offers an extensive selection of designs to choose from, including floral, geometric, and abstract patterns. Once you’ve selected the design you want, peel off the backing and place it on your nail.
Press and Smooth
Once the Nailboo is in place, use your finger to press down firmly and smooth out any bubbles or wrinkles. If you’re having trouble getting the Nailboo to stick, use a nail file to lightly buff the nail surface before applying. This will help the Nailboo adhere better.
Apply Topcoat
Once you’ve finished applying the Nailboo, it’s time to apply the topcoat. This will help seal the design and keep it looking fresh for longer. Use a topcoat that is designed specifically for use with Nailboo. Apply the topcoat in thin layers, allowing each layer to dry before applying the next.
Caring for your Nails
Avoid Moisture
To keep your Nailboo looking its best, it’s important to avoid moisture. This means avoiding contact with water, lotions, and oils. Whenever you’re washing your hands or showering, dry your nails thoroughly afterwards.
Gently Remove
When it’s time to remove the Nailboo, do so gently. Gently peel off the Nailboo, starting at one corner and working your way across the nail. If the Nailboo doesn’t come off easily, use a cotton swab soaked in nail polish remover to help loosen it.
Keep it Clean
To keep your Nailboo looking its best, it’s important to keep your nails clean. Make sure to wash your hands regularly and use a clean nailbrush to gently remove any dirt or debris that may have built up.
Additional Tips

In addition to the steps outlined above, there are a few extra tips to keep in mind when applying Nailboo. First, always make sure to use a clean surface when applying the Nailboo. This will help ensure that the design adheres properly. Additionally, use a fine-tipped brush or nail dotting tool to apply the topcoat. This will help ensure that the topcoat is evenly applied and that your design is sealed properly. Finally, be sure to store your Nailboo in a cool, dry place to ensure that it stays in the best condition possible.
Benefits of Nailboo
Nailboo is a great way to express your creativity and have fun with your nails. It’s an affordable and easy way to make your nails look amazing. Plus, Nailboo is easy to apply and remove, so you can switch up your look whenever you want. With Nailboo, you can create beautiful nail art designs in minutes.
Conclusion
Nailboo is an amazing product that is perfect for creating stunning nail art designs. With a few simple steps, you can have beautiful nails in minutes. Just remember to prepare your nails, choose your design, press and smooth the Nailboo, and apply a topcoat. Finally, avoid moisture, gently remove the Nailboo, and keep your nails clean. With these tips, you’ll be able to enjoy your beautiful Nailboo designs for weeks to come.
